13. Discover the DOM
This chapter will help you discover how a web page is shown by a browser.
TL;DR
-
A web page is a structured document containing both text and HTML tags. The DOM, or Document Object Model, is a standardized way to define a web page’s structure.
-
The DOM is also an API allowing programmatical interactions with the web page. With JavaScript, you can access the structure of a page displayed in a browser and modify it.
-
The DOM represents a web page as a hierarchy of objects, where each object corresponds to a node in the nested HTML element tree.
-
The
documentvariable provides access to the root of the DOM tree and corresponds to the<html>element in the HTML itself. -
DOM objects have properties and methods that you can manipulate with JavaScript. For example,
nodeTypereturns the node type,childNodescontains a collection of child nodes, andparentNodereturns the parent node.
Introduction to the DOM
You already know that a web page is a document that contains text and tags such as headings, paragraphs, links, etc. This happens in a language called HTML.
Let’s take this simple web page as an example. Feel free to add your own information!
<!doctype html>
<html>

<head>
    <meta charset="utf-8">
    <title>My web page</title>
</head>

<body>
    <h1>My web page</h1>
    <p>Hello! My name's Baptiste.</p>
    <p>I live in the great city of <a href="https://en.wikipedia.org/wiki/Bordeaux">Bordeaux</a>.</p>
</body>

</html>
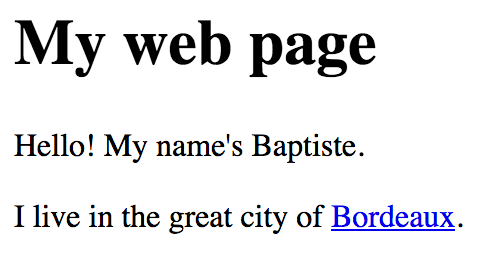
To create this result, the browser first takes the HTML code and builds a representation of its structure. It then displays this structure in the browser.
The browser also offers programmatic access to its structured representation of a displayed web page. Using this interface, you can dynamically update the page by adding or removing elements, changing styles, etc. This is how you create interactive web pages.
The structured representation of a web page is called DOM, short for Document Object Model. The DOM defines the structure of a page and a way to interact with it. This means it’s a programming interface, or API (Application Programming Interface). JavaScript is the language of choice for interacting with the DOM.
At the dawn of the Web, each browser was using its own DOM, giving headaches to JavaScript developers trying to code web pages. These hard times are over. Through a World Wide Web Consortium (W3C) effort, the first version of a unified DOM was created in 1998. Nowadays, all recent browsers use a standardized DOM.
Web page structure
A web page is a set of nested tags. You can represent a web page in a hierarchical form called a tree. The <html> element sets up your document as HTML and contains two sub-elements, <head> and <body>, which themselves contain several sub-elements.
Here is the tree corresponding to our example HTML page.
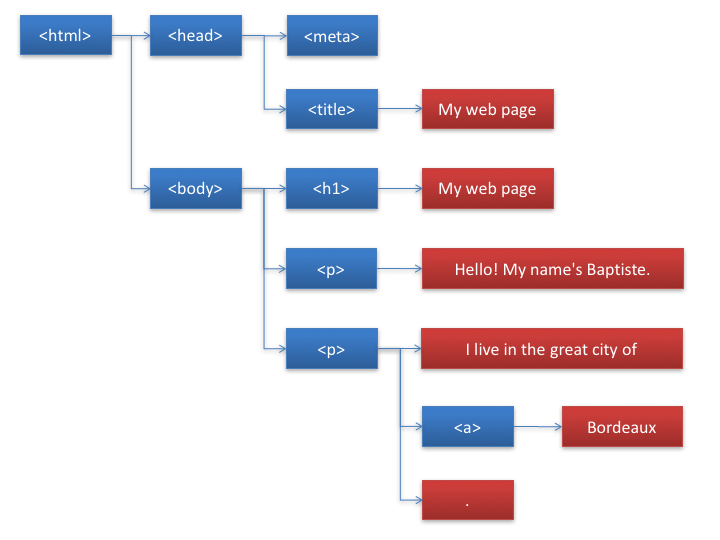
Each entity in the tree is called a node. There are two types of nodes:
-
Those (in blue here) that correspond to HTML tags like
<body>or<p>. These nodes are called element nodes and they can have subnodes, called child nodes or children. -
Those (in red) that match the textual content of the page. These nodes are called text nodes and do not have children.
Get started with the DOM in JavaScript
The DOM represents a web page as a hierarchy of objects, where each object corresponds to a node in the nested HTML element tree. DOM objects have properties and methods that you can manipulate with JavaScript.
Access the DOM with the document variable
When a JavaScript program runs in the context of a web browser, it can access the root of the DOM using the variable document. This variable matches the <html> element.
document is an object that has head and body properties which allow access to the <head> and <body> elements of the page.
const h = document.head; // "h" variable contains the contents of the DOM's head
const b = document.body; // "b" variable contains the contents of the DOM's body
Discover a node’s type
Each object has a property called nodeType which indicates its type. The value of this property is document.ELEMENT_NODE for an “element” node (otherwise known as an HTML tag) and document.TEXT_NODE for a text node.
if (document.body.nodeType === document.ELEMENT_NODE) {
  console.log("Body is an element node!");
} else {
  console.log("Body is a textual node!");
}
As expected, the DOM object body is an element node because it’s an HTML tag.
Access a node’s children
Each element-typed object in the DOM has a property called childNodes. This is an ordered collection containing all its child nodes as DOM objects. You can use this array-like collection to access the different children of a node.
W> The childNodes property of an element node is not a real JavaScript array, but rather a NodeList object. Not all of the standard array methods are applicable to it.
The following code would display the first child of the body node.
// Access the first child of the body node
console.log(document.body.childNodes[0]);
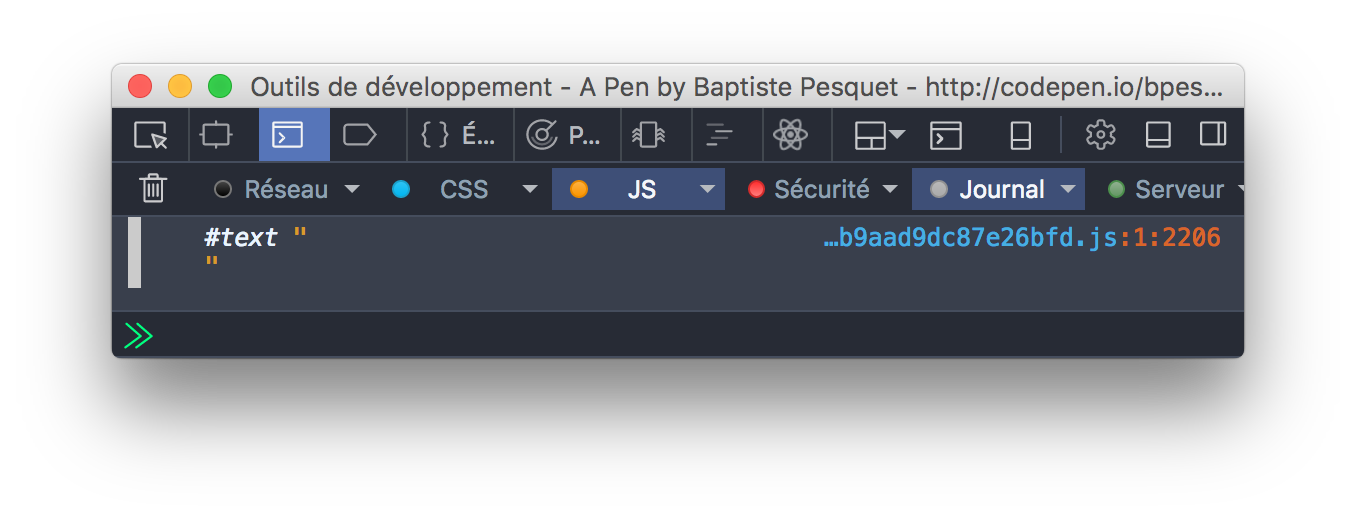
Q> Wait… Why isn’t the first child node h1, since that’s the first element in the body’s HTML?
That’s because spaces between tags and line returns in HTML code are considered text nodes by the browser. The node h1 is therefore the second child node of the body. Let’s double check that:
// Access the second child of the body node
console.log(document.body.childNodes[1]);
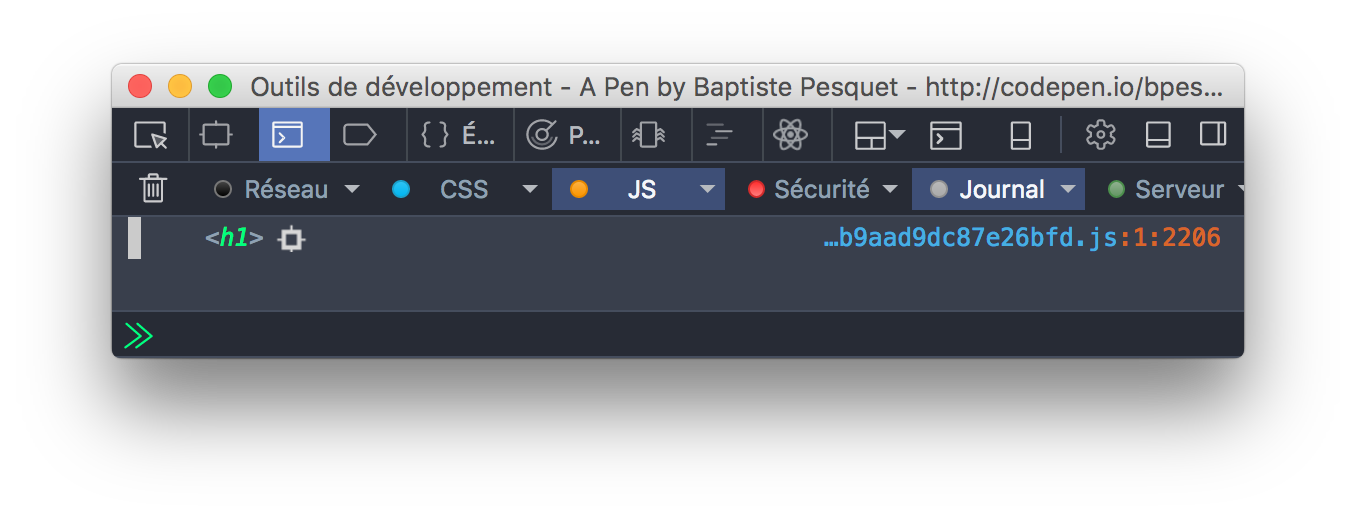
To eliminate these text nodes between tags, you could have written the HTML page in a more condensed way.
<body><h1>My web page</h1><!-- ... -->
It’s better, however, to take the text nodes between tags into account than to sacrifice visibility and code indentation.
Browse child nodes
To browse a list of child nodes, you can use a classical for loop, the forEach() method or the newer for-of loop as seen below:
// Browse the body node's children using a for loop@
for (let i = 0; i < document.body.childNodes.length; i++) {
  console.log(document.body.childNodes[i]);
}

// Browse the body node's children using the forEach() method
document.body.childNodes.forEach(node => {
  console.log(node);
});

// Browse the body node's children using a for-of loop
for (const node of document.body.childNodes) {
  console.log(node);
}
Each of these techniques gives the following result.
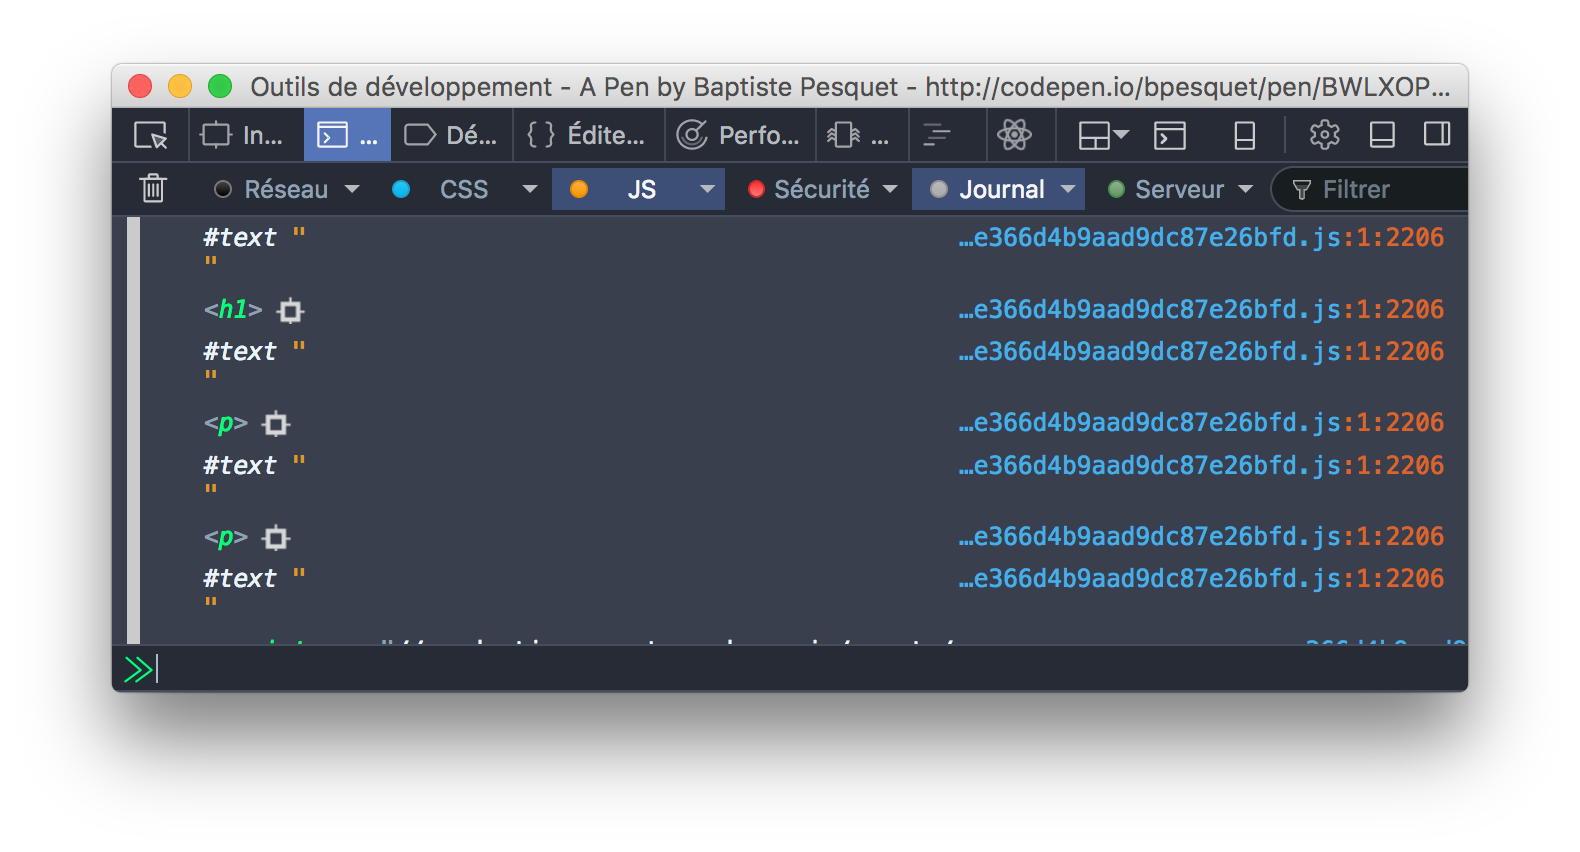
Again, spaces and line returns count as text nodes in the DOM.
Access a node’s parent
Each DOM object has a property called parentNode that returns its parent node as a DOM object.
For the DOM root node (
document), the value ofparentNodeisnullsince it has no parent node.
const h1 = document.body.childNodes[1];
console.log(h1.parentNode);       // Show the body node
console.log(document.parentNode); // Will show null, since body has no parent node
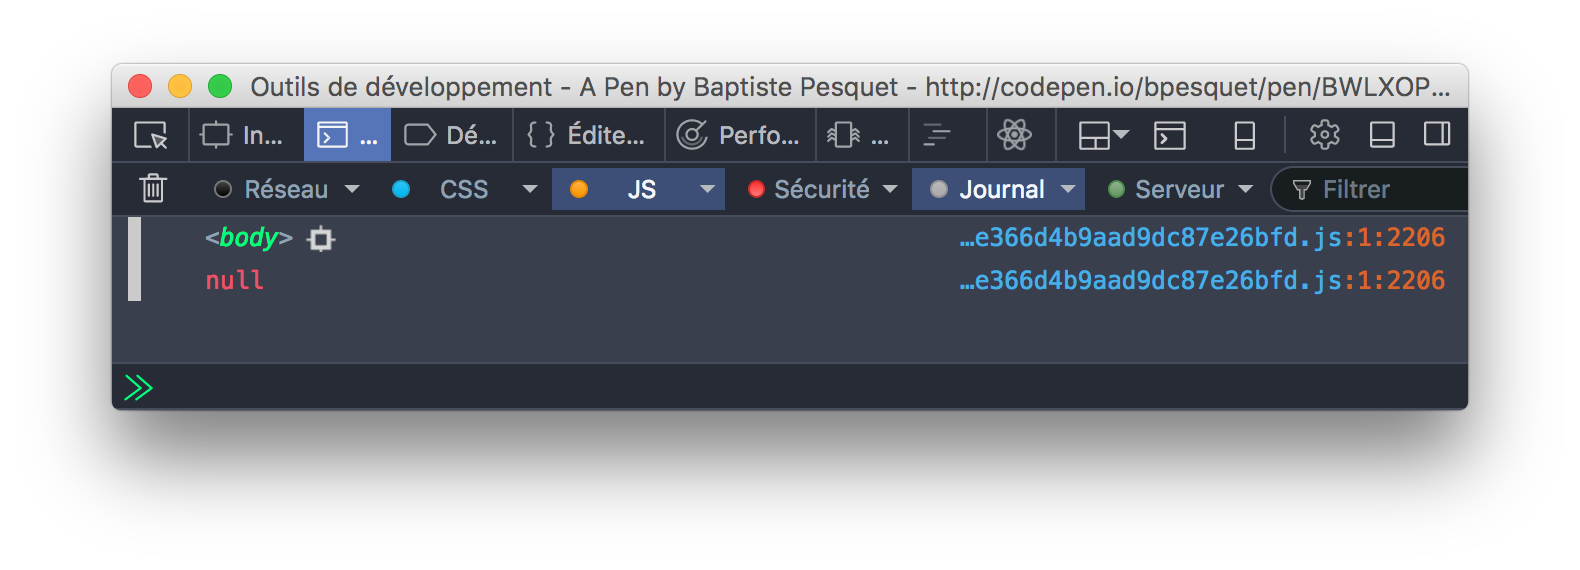
There are other properties that we will not discuss here that let you navigate through the DOM, like
firstChild,lastChildornextSibling.
Coding time!
Showing a node’s child
Your mission here is to create a showChild() function that shows one of the children of a DOM element node. This function takes as parameter the parent node and the child node index. Error cases like a non-element node or an out-of-limits index must be taken into account.
Here’s the associated HTML code.
<h1>A title</h1>
<div>Some text with <a href="#">a link</a>.</div>
Complete the following program to obtain the expected results.
// Show a DOM object's child node
// "node" is the DOM object
// "index" is the index of the child node
const showChild = (node, index) => {
  // TODO: add code here
};

// Should show the h1 node
showChild(document.body, 1);

// Should show "Incorrect index"
showChild(document.body, -1);

// Should show "Incorrect index"
showChild(document.body, 8);

// Should show "Wrong node type"
showChild(document.body.childNodes[0], 0);
Use
console.error()rather thanconsole.log()to display an error message in the console.